Tutorial: How to Optimize Your CloudPanel Resources

In my previous article, I told you about the performance problem encountered by one of our clients and how we solved it. This article aims to go into more detail about how we fixed the problem on their CloudPanel, and less about the story.
A few concepts before starting
Before starting, I don't know the technical level of each person who will read this tutorial, so I start from the basics and try to explain each concept without making it complicated. Hopefully I succeeded 😛
- CPU: The CPU is what allows your server to calculate. All the programs and tasks of the operating system, including your websites, require CPU cycle requests to your servers.
- RAM/Memory: RAM allows your server to save information with ultra-fast access. A server is limited in RAM. Each program requests a certain amount of RAM to use to function. RAM acts as a short-term temporary memory, processing data from hard drives or solid-state drives to the central processing unit for quick and easy access.
- HDD Disk: An HDD disk allows you to save files for your server. An HDD disk is the slowest type of disk. It is generally used to store a large number of files that are not used frequently. This is an inexpensive backup method for a server.
- SSD/NVMe Disk: SSD or NVMe disks are the fastest storage (NVMe being generally faster than SSD). It costs more to save information on SSD and NVMe. SSD and NVMe disks are generally used for the operating system and for files that are accessed very often, such as websites.
- Load: The load is a performance index for a server. As a general rule, a server can easily absorb the equivalent of 1 unit per vCPU on a machine. So a host of 1 vCPU can therefore manage a load of less than 1 without any problem. Beyond this value, a slowdown will be felt on the server. The load is an amalgam of everything on the system, CPU, RAM and Disk. A server could have a CPU at 70%, the RAM at 60% but a Load of 13. This happens when the disks are overused. The load generally allows you to quickly see if a server is healthy with the management of its resources.
How to track resources in your CloudPanel
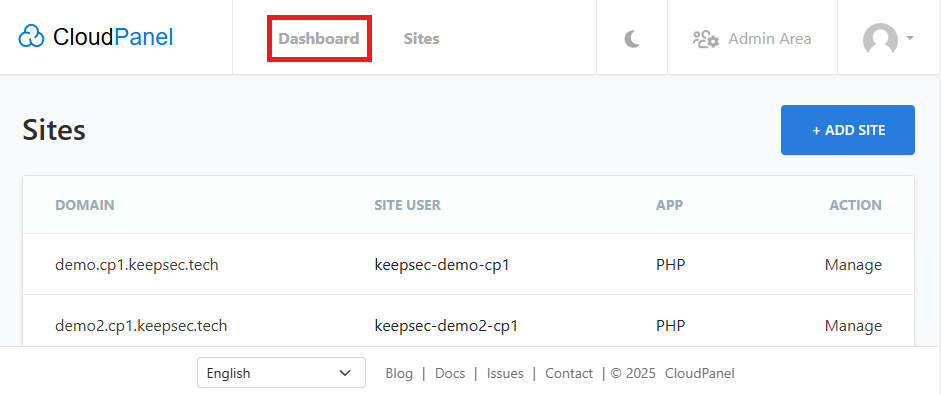
To track resources on your CloudPanel, simply click on "Dashboard".
From the Dashboard, you will find the "Monitoring" section. Monitoring gives you information about your system: CPU, Memory, Disk and Load. In the red squares, you can see the total resources on your server.
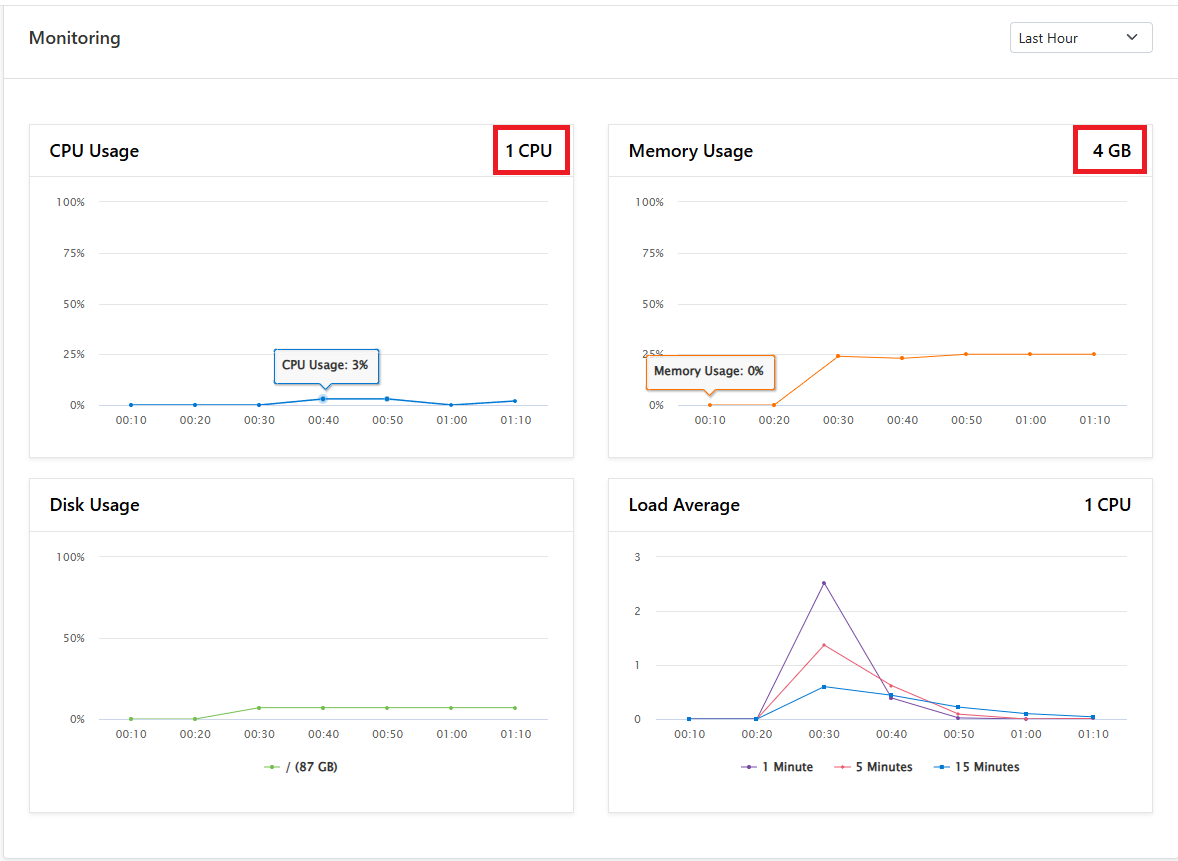
This monitoring space is crucial to properly consider whether your server still has the capacity to add your other websites or those of your clients. Look at the resources over a period of 12 hours (ideally during the week and during office hours). If you see that your load is too high or that the CPU or RAM is often at 100%, it is not recommended to add a site to your CloudPanel.
We recommend between 15 and 25 sites of normal size and standard traffic per CPU. The figure seems vague, but in the end it will depend on the types of website and their size. Some sites have monstrous traffic and could demand all your resources by themselves. It is even possible that you could manage to enter 35 websites on your server without any problem. Hence the importance of properly managing these resources.
Optimize the resources of each website
We will now see how to optimize the settings on your site so that you can put as many as possible in order to make your server profitable.
CloudPanel is great because it easily displays the important parameters to optimize resources and it installs a variety of tools that serve to improve the performance of your sites. These tools can be activated easily and you can even charge a small supplement to your clients when they are activated (but you are not obligated there! 😉).
Go to "Sites" and click on the "Manage" of one of your sites.
Memory optimization per site
As a general rule, we want to give the minimum memory_limit on each site, while keeping it functional. This might seem counterintuitive, but the goal is to manage to allow as many connections as possible to your site and that each connection has what it needs to display correctly to your clients.
You will find the memory_limit in the "Settings" tab and in the "PHP Settings" section of this tab. It is recommended to set this value by default to 64MB and visit the website. If everything on the site displays without a 500 error, without a WordPress error page or other, this means that you have correctly configured this variable.
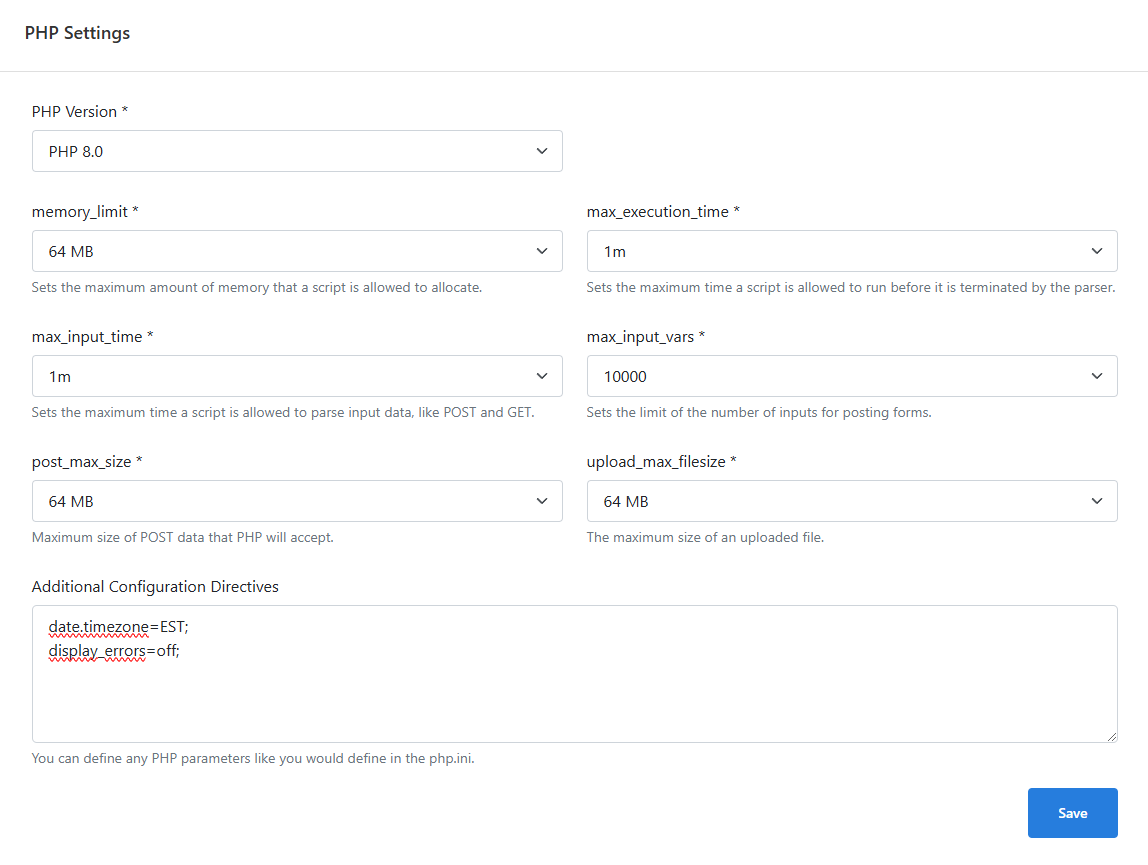
The larger the site and has long pages with a lot of content, the more this variable will need to be increased.
Speed up your site through optimization and compression of your code and images
PageSpeed allows you to make your site faster by reducing the size of your files by about 40%. When a client connects to your site, the time to display the site considers: The time for your client to request the page, the time to compile the requested page of your site and the time to send the generated page to your client. If we manage to considerably reduce the weight of each resource (images or code file), this significantly increases performance. It is therefore good to activate PageSpeed on your sites. On the other hand, after activating it, make sure that each page on your site displays as expected, because certain WordPress themes or plugins do not work well with PageSpeed. Moreover, the activation of this functionality can require load on your server and could cause performance problems on websites with high traffic. It is still good to check if it works well with your site.
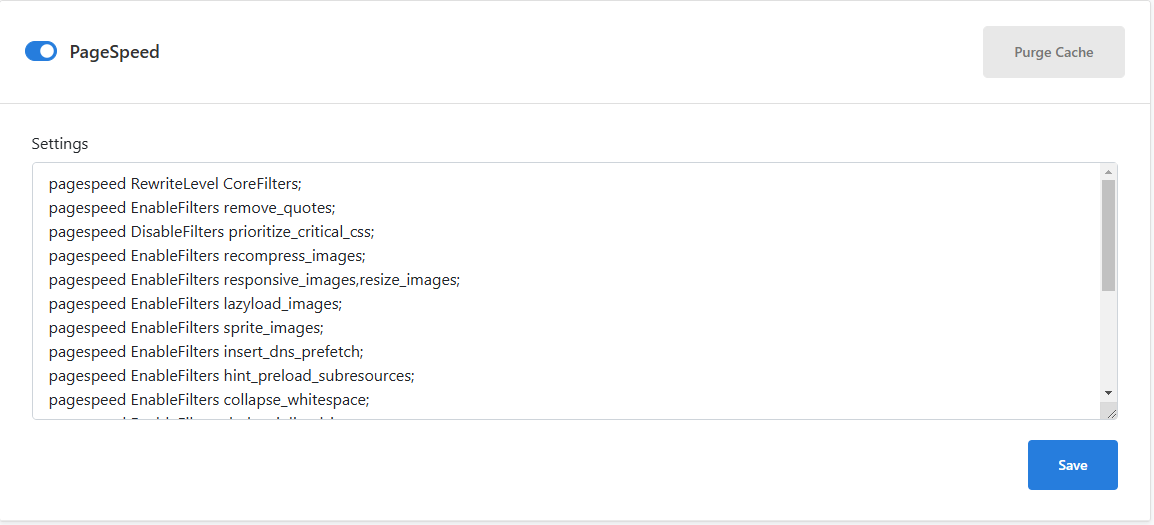
PageSpeed can be activated in the "Settings" tab and in the "PageSpeed" section. By default, the PageSpeed settings are correct for most sites, but there is always a way to customize the configuration according to your needs.
Speed up your site through file caching
A WordPress website, or practically all websites nowadays, needs to be compiled by your server before being provided to your clients. On the other hand, most of the pages on your site are generally static (always the same displayed, regardless of the client). It is therefore possible to use caching to save compiled versions of your pages to serve to your clients more quickly. A website is cached page by page and has a lifespan. After the lifespan, the next client to request the page will regenerate the cache for it. This allows you to cache the entire site, except for certain pages such as account pages, billing pages, etc. Putting cache on a site allows you to increase speed and reduce resource consumption on your server. Caching is magic, but make sure not to cache confidential information. A disadvantage of caching is also that when you make changes to your site, you have to think about going to "flush" the cache on the modified page otherwise the old version of the page will be served to your clients.
To activate caching, go to the "Varnish Cache" tab and in the "Varnish Cache" section. By default, Varnish Cache has a lifespan of 604,800 seconds (7 days). Be sure to set this value to something that suits you, but 7 days seems good for a site that is not modified every day.

Don't forget to exclude all pages with confidential information or with content generated with variables such as usernames or pages with variable prices depending on the client's country of origin, etc.
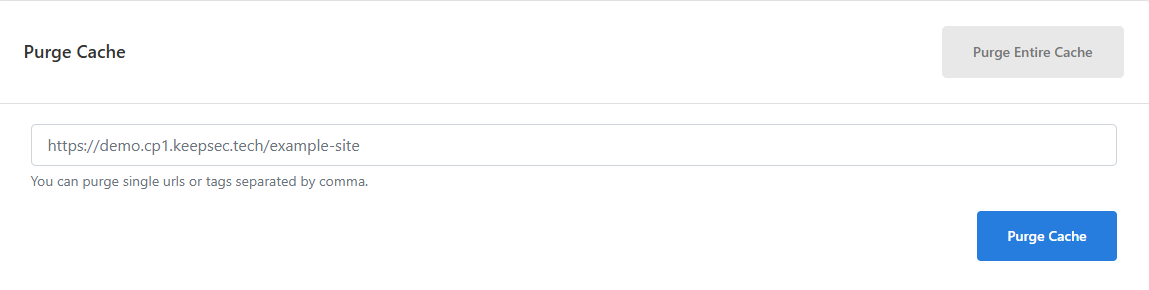
To invalidate (flush) the cache on your entire site, simply click on the "Purge Entire Cache" button at the bottom of the "Purge Cache" section on the "Varnish Cache" tab. To flush the cache on a single page, simply put the URL in the field and click on the "Purge Cache" button.
Conclusion
I hope I have succeeded in increasing your knowledge of CloudPanel and helped you improve the performance of your sites.
Thank you for taking the time to follow our quick training on resource management and how to speed up your websites in CloudPanel.
Visit our Cloud Platform and see how simple and inexpensive it is to start using CloudPanel with us!