How to Host Multiple Websites Without Hassle with KeepSec

Are you a website developer or a web hosting company?
How simple is it for you to:
- Deploy multiple websites on a single server?
- Deploy a new server to accommodate multiple new clients?
- Manage all your servers and allow your clients to control their infrastructure?
If you find it painful, you clearly haven’t tried KeepSec Cloud.
Not all companies are aware of web hosting platforms like Plesk, CyberPanel, cPanel, or CloudPanel.
If you are unfamiliar with them or if you are wondering if the grass is greener next door, you are in the right place.
At KeepSec, we have automated the process of installing these products on our servers. In a matter of minutes, you can have a server ready to deploy multiple clients. The cost starts at C$30 per month and can be upgraded to higher tiers down the road to onboard more clients.
Let me show you how easy it is to start hosting all your clients’ websites!

Let’s start by creating an account on KeepSec Cloud
Deploy
Once your account is created, go to Products > Compute > VPS.
You will see the overview page.
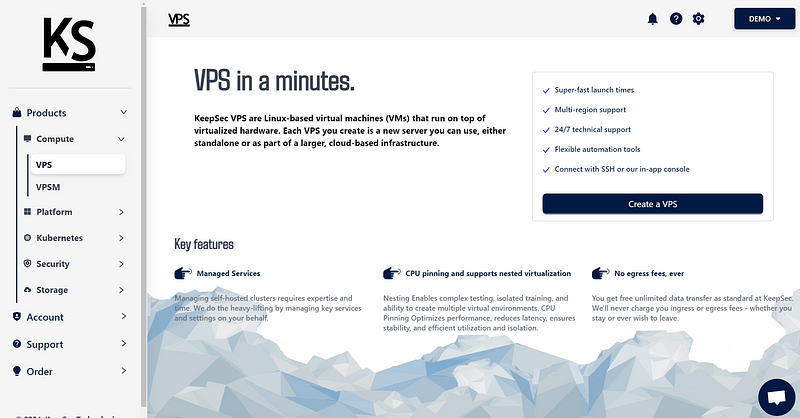
Our VPS has CPU pinning, which means that you get access to a whole CPU core for your workload. This core isn’t shared with others, which means we do not overcommit our resources. This allows our clients to get good and stable performance.
Let’s deploy your VPS instance via the Create a VPS button.
If you want to host a couple of low-traffic websites, the Emerald tier at C$30 per month is perfect. It can be upgraded later to accommodate new traffic or clients’ needs. Select a location, plan, name, username for the root account, and set a password.
Deploy it.
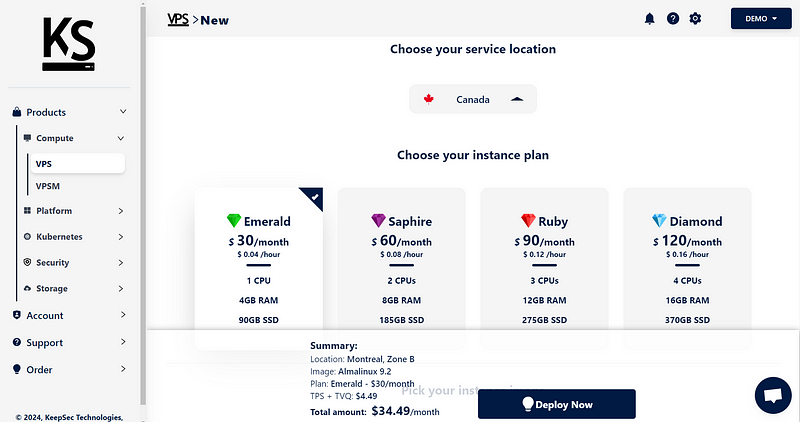
Notre plateforme devrait prendre moins de 30 secondes pour provisionner votre VPS.
Félicitations, vous avez maintenant un serveur pour installer la plateforme d'hébergement Web de votre choix!
Installing a Web Hosting Platform
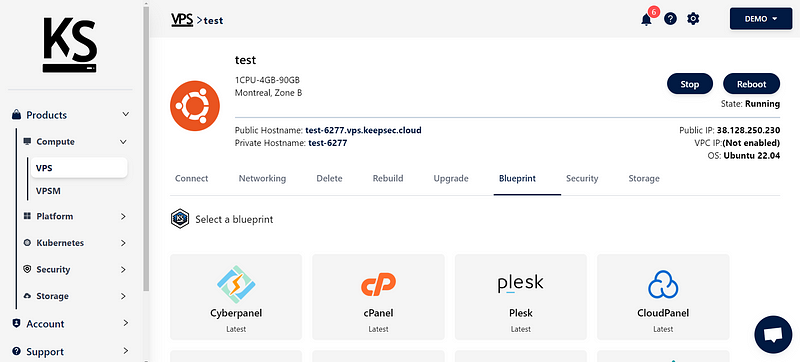
From the Blueprint tab of your VPS, install any of them (Plesk, CyberPanel, cPanel, or CloudPanel). For this article, we will install CloudPanel, but all of them have similar steps, so you should be able to install any of them. Confirm the installation.
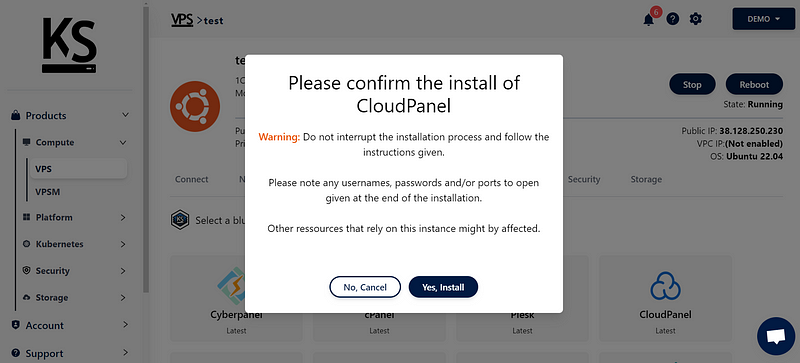
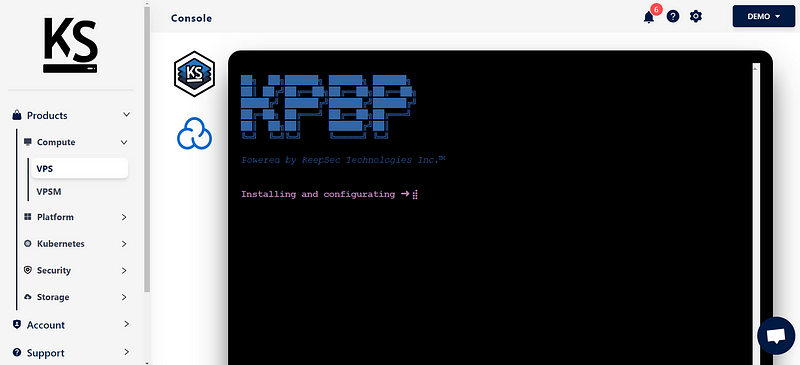
It will redirect you to a console with the KeepSec Blueprint splash screen. The installation and configuration will take between 2 to 5 minutes.
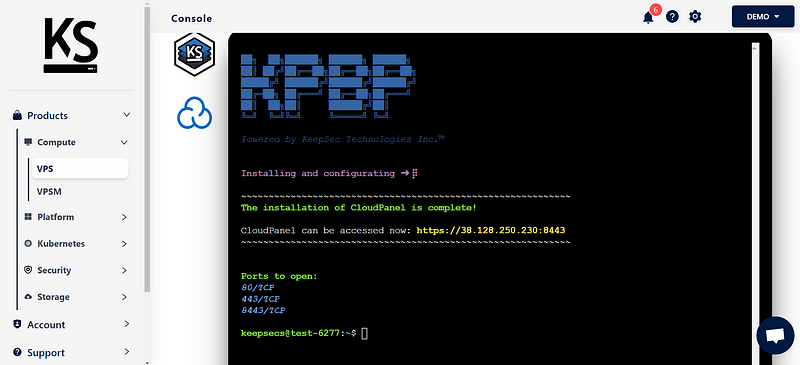
Your server information will be displayed. At that time, everything is installed, but your VPS integrated firewall does not have the listed ports open. In our case, it is asking for 80/tcp, 443/tcp, and 8443/tcp.
Note the ports and the link.
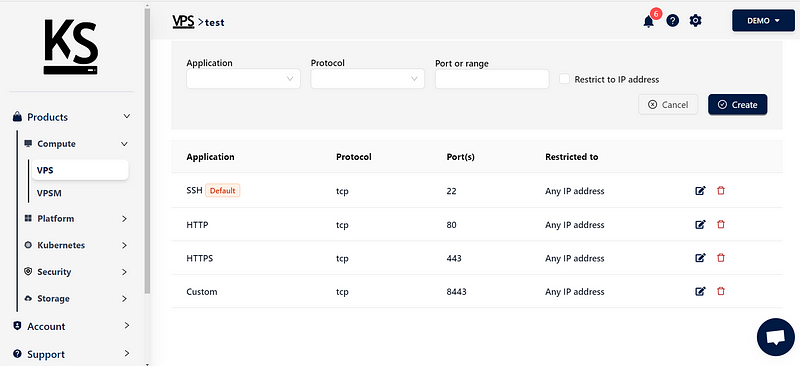
In order to open the ports in the firewall, go to the Networking tab in your VPS instance. Scroll to the bottom and add all of the rules with the + Add Rule and Create buttons.
Navigate to the link from the Blueprint console to start the configuration of your web hosting platform.
For example, https://38.128.250.230:8443 in our case.
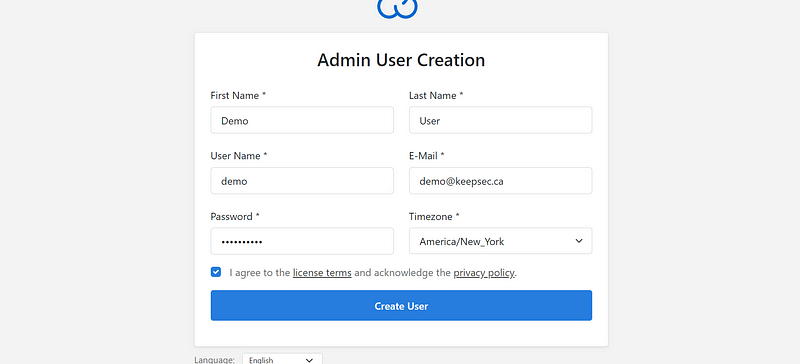
Fill out the form with your information and press Create User.
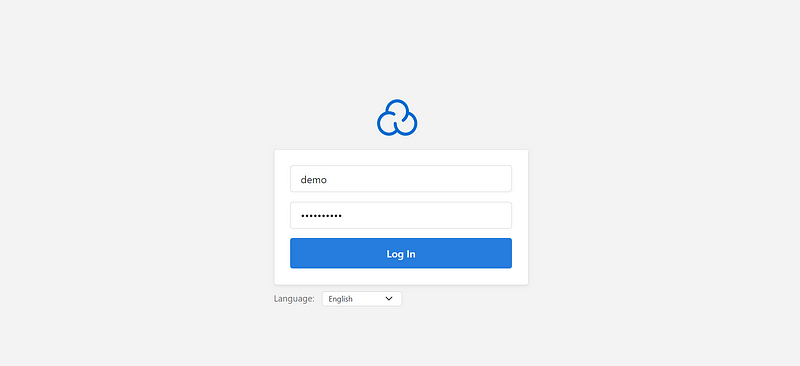
Log in with your new user and password.
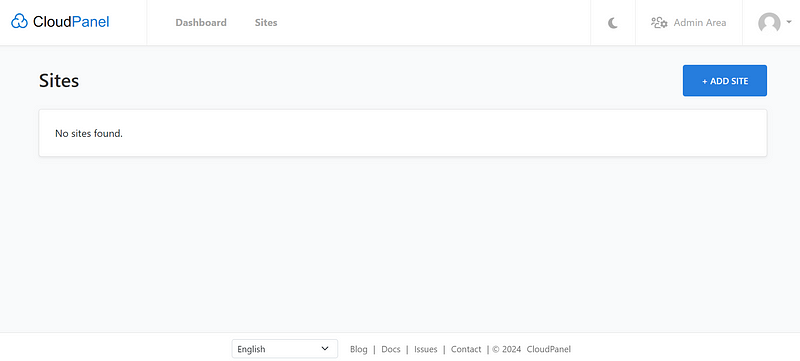
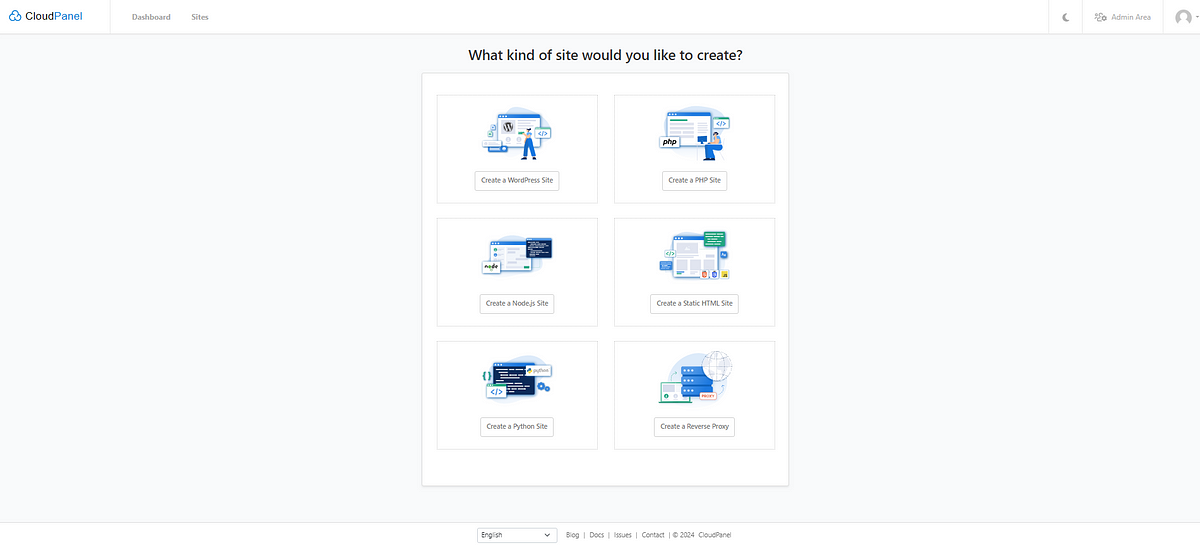
If you click the + Add Site, you will see all the types of applications that you can create. All of the platforms mentioned during this tutorial allow you to create a WordPress site, a PHP site, a Node.js site, a static HTML site, a Python site, or a reverse proxy in a matter of a few clicks.
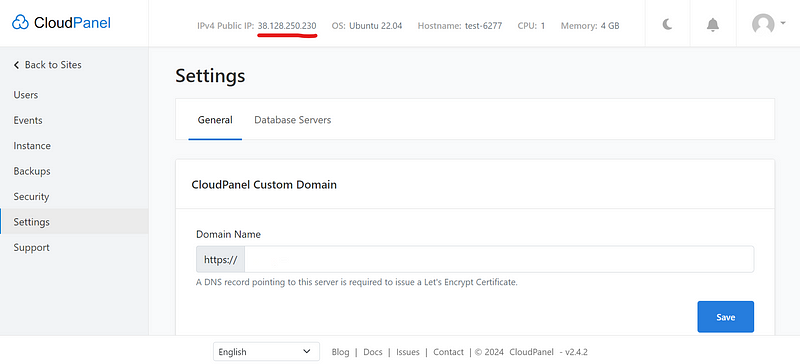
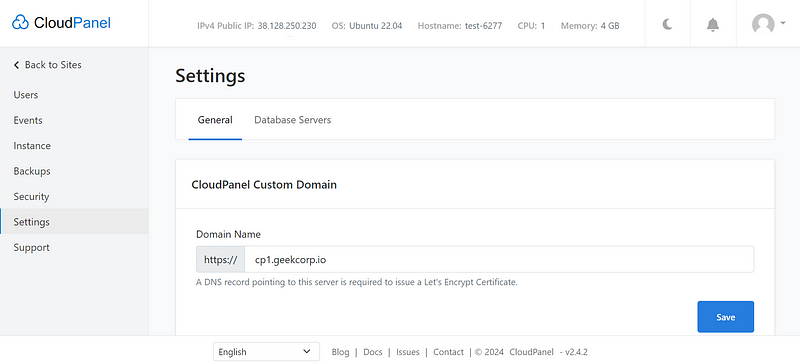
Click on the Admin Area and then go to Settings. We will secure your website by enabling SSL.
Note the public IP and go to your domain provider in a new browser tab. The public IP is located at the top of CloudPanel.
In my case, I am using Cloudflare, and the domain I want for this CloudPanel is cp1.geekcorp.io.
Each domain provider has its own panel, but the process is generally the same. Create a record with Type A, Name cp1.your_domain.com, and Content as the public server IP. The name can be pretty much any subdomain of your choice. For example, cloudpanel-1.your_domain.com would also work.

Go back to your CloudPanel tab, enter your domain name, and click Save.
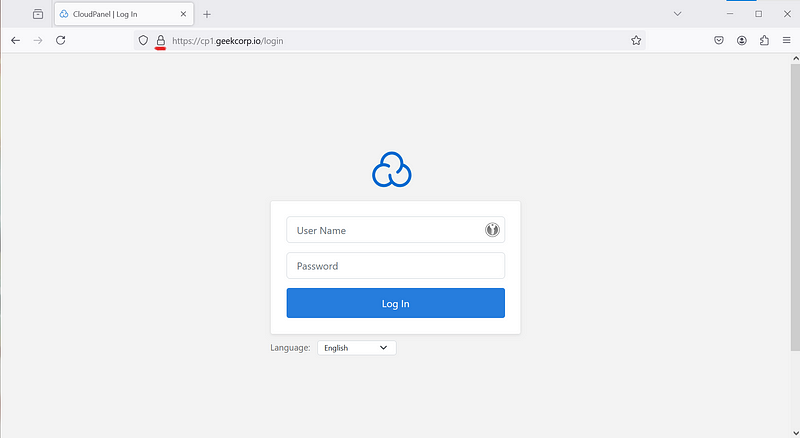
After this step, you will be able to go to https://cp1.your_domain.com, and you will see the lock in the navigation bar showing that the website has secure communication.
If you require a client to access their own platform, you can go to Admin Area > Users. This place allows you to create a new user for this panel. You can granularly allow access to each website hosted on the server.
With all of this, you should be ready to onboard new clients or start migrating your existing clients.
If you need a demo of our entire platform, you can reach our support at the lower right of each page and request a platform demo.
